![Post image for ’64 Chevy Pickup Fleetside – Revell kit – bench seat [9]](http://blog.modeljunkyard.com/wp-content/uploads/2014/06/64-chevy-pickup-fleetside-bench-seat-revell-1-25-scale-12.jpg)
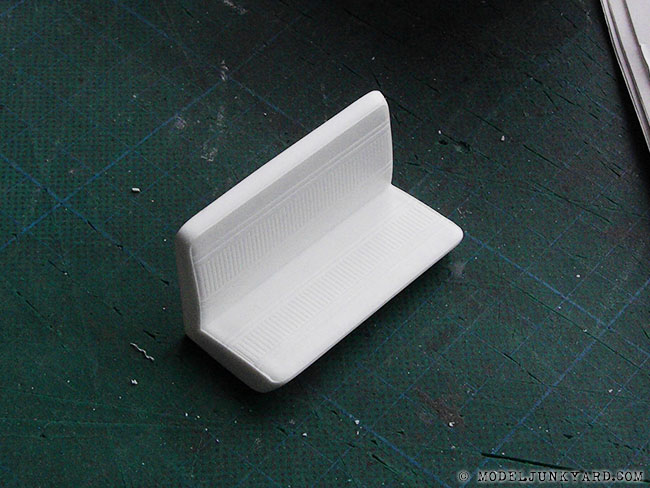
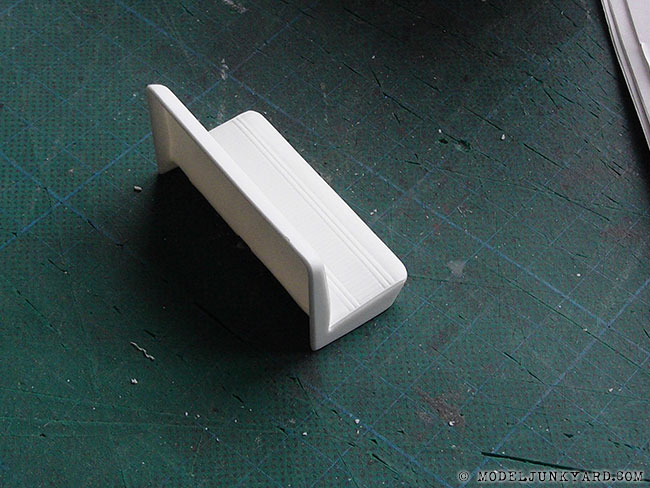
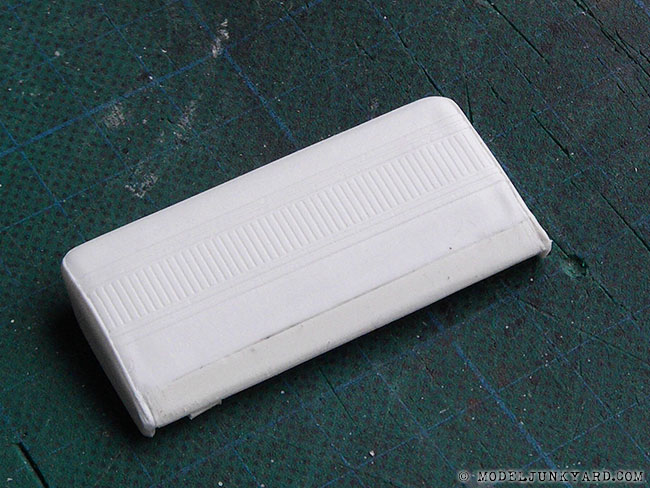
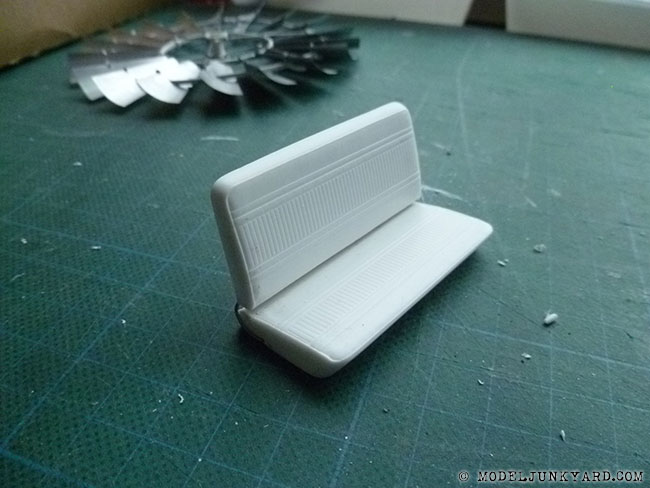
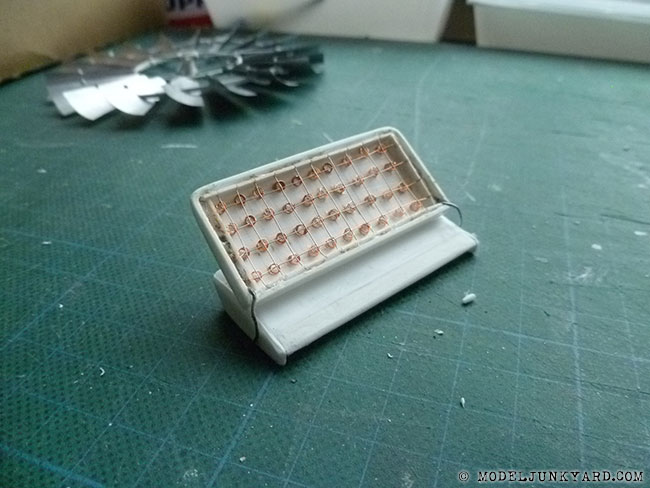
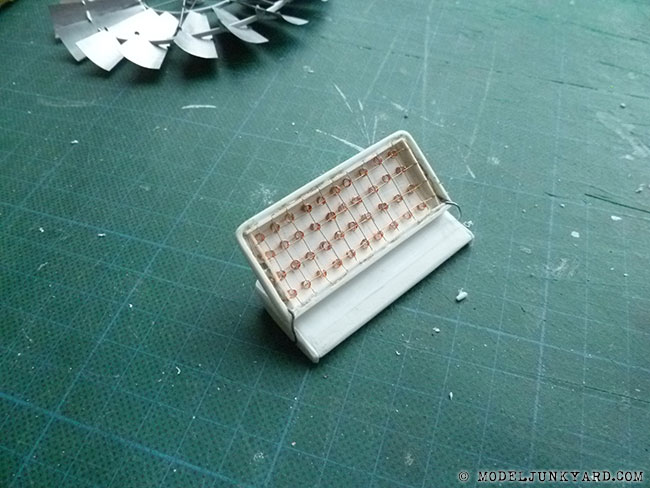
I could’ve let the bench seat on this ’64 Chevy Pickup in one piece… but I couldn’t resist the temptation of adding some detail to it. It looks terrific, adding a nice high detail piece to the model and it’s easier than it seems.
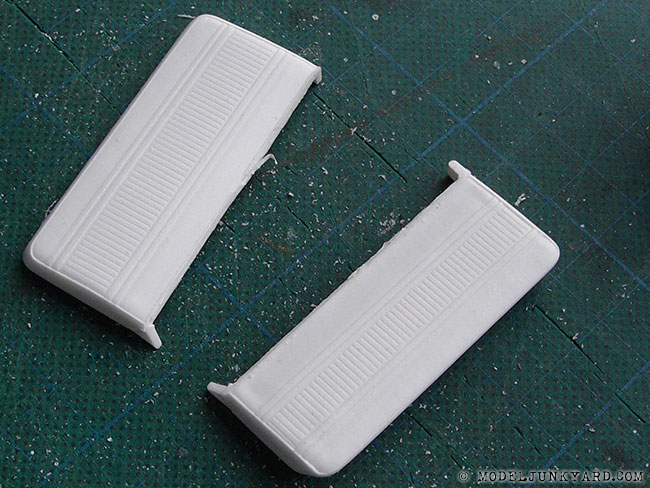
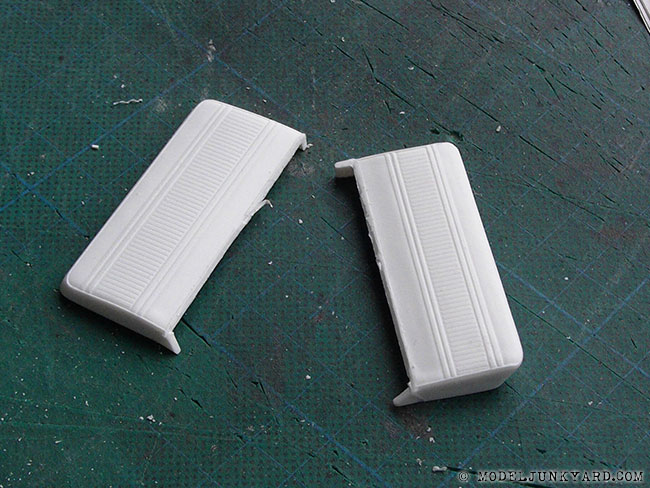
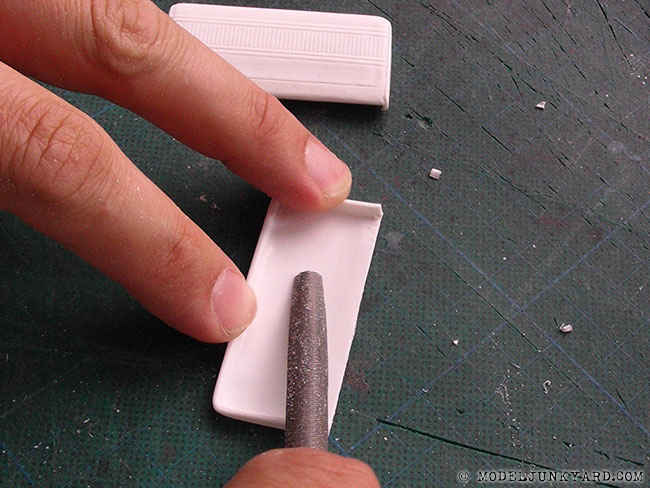
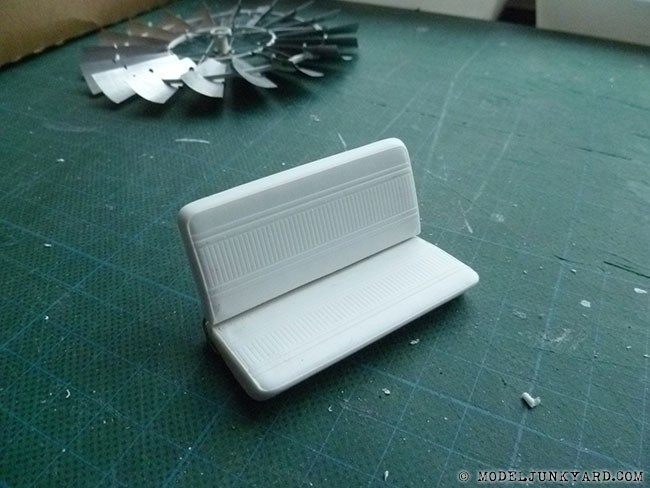
- Cut the bench seat in two pieces
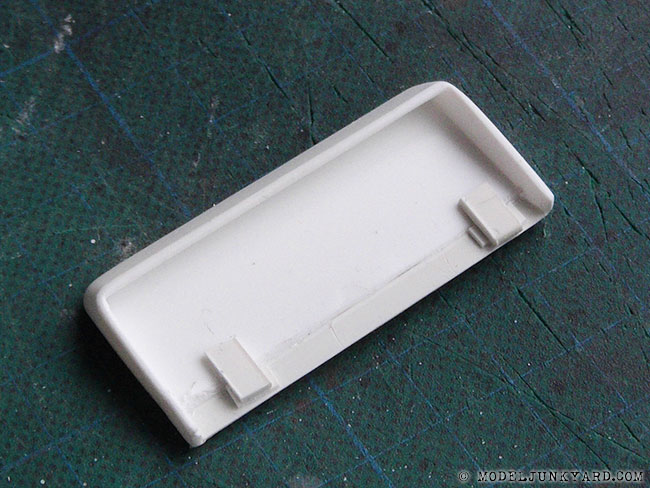
- Add some styrene pieces where needed in order to make both parts look complete again.
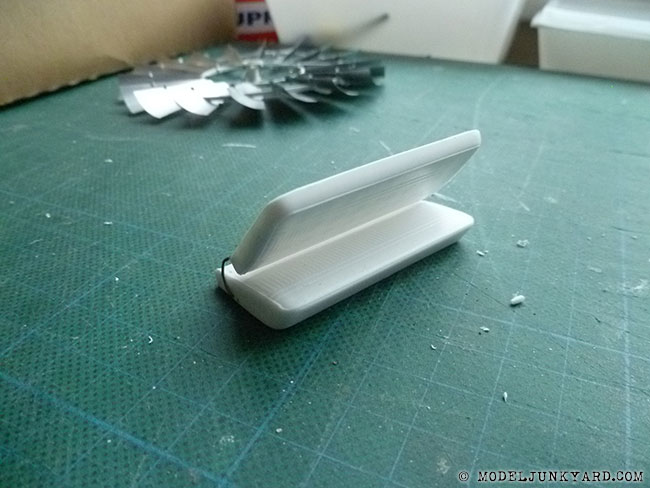
- Use a piece of wire to make the hinge mechanism (OMG! Hinges again! )
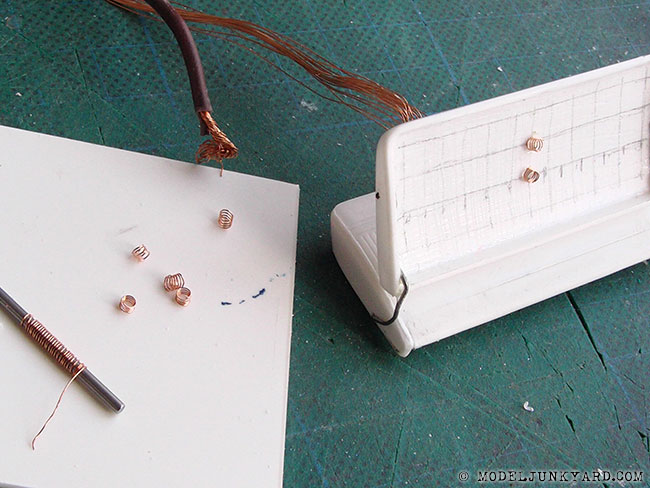
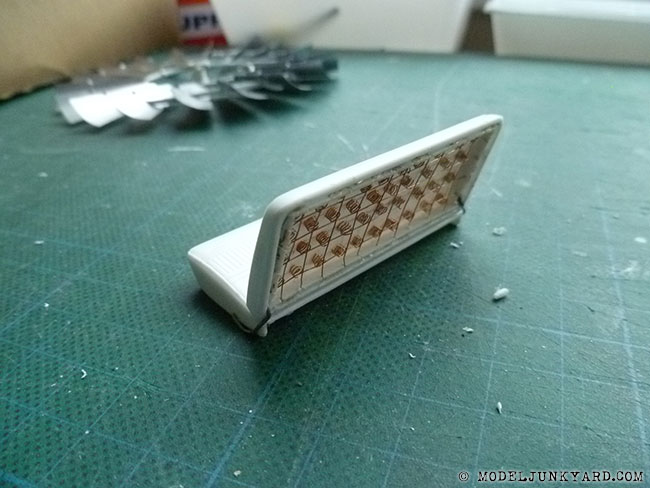
- Cut an electricity cable open and use the fine copper wires to make the springs and seat structure.
- Now… I’m forced to scratch build the gas tank, which is located behind the bench seat… coming soon.
Check out all the steps of this project here.
Please, leave your comments at the bottom of this page. Thanks!


Love the way you built out the seat. I have been trying to duplicate seat springs on one of my junkers. Note that the AMT 55-57 Chevy pickup kits have a behind the seat gas tank in them. That might be the one you need!
Hi Tom, I appreciate your comment! Thanks. I know the kit and the tank you mention. I don’t have that kit lying around here. I enjoy scratch building so much that in most cases I prefer to scratch build such parts than ordering and waiting until something arrives