If your favorite scale is 1/25 and you were looking for a tractor, you might have already noticed that there are not so many options available. Most of the farm and land machinery scale models are available rather in smaller (1/32) or bigger (1/16) scales.
Not so long ago I was looking for scale models to buy online and accidentally found this 1/25 scale Hanomag K55 crwaler tractor from Wiking, Germany. I immediately realized that the model was not that detailed as I would like it to have and that it’s not even a kit but a glued plastic model. I took the risk and bought two of them. One for myself, the other one for my brother Iggy (shh! don’t tell him! he still doesn’t know it! 😉 ).
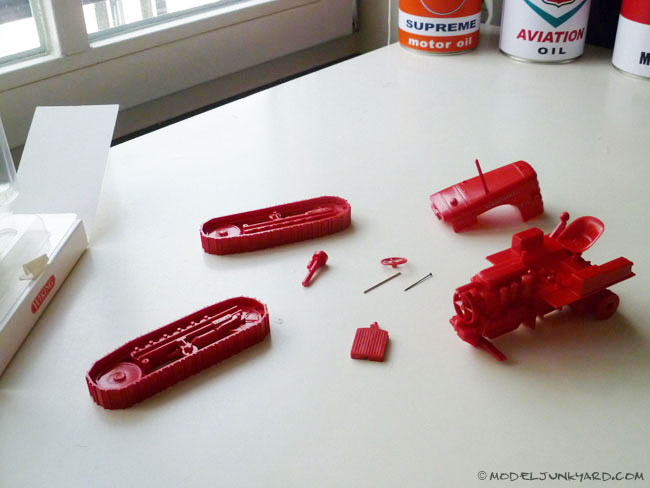
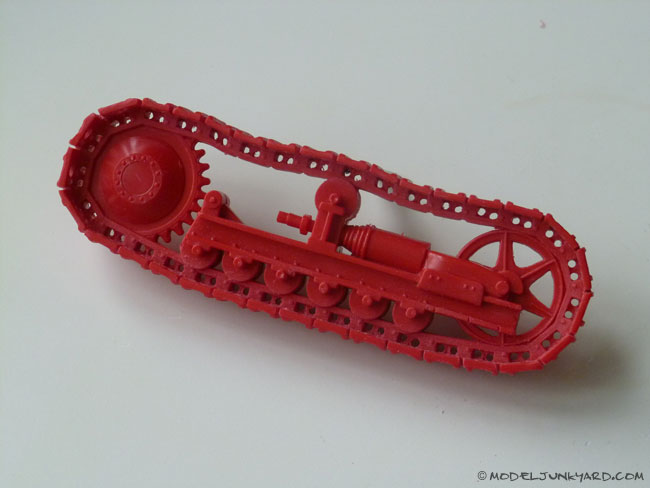
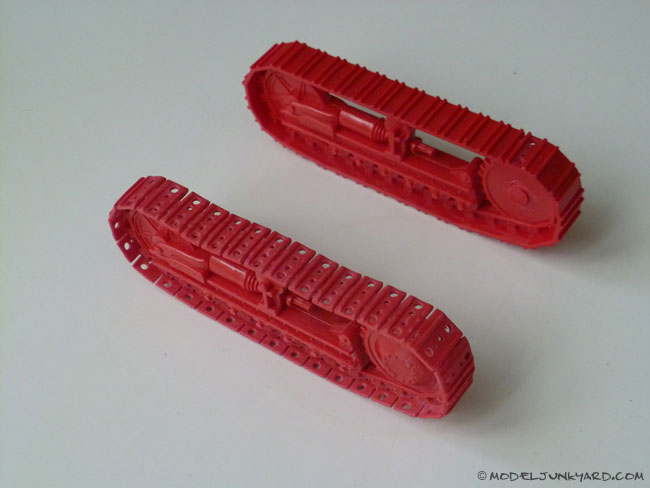
I carefully started disassembling the scale model. To my surprise the glue was not that strong and pieces would come apart very easily, almost intact. After disassembling all the model I decided to start with the part I thought needed the most attention and at the same time the most challenging: the crawler tracks!
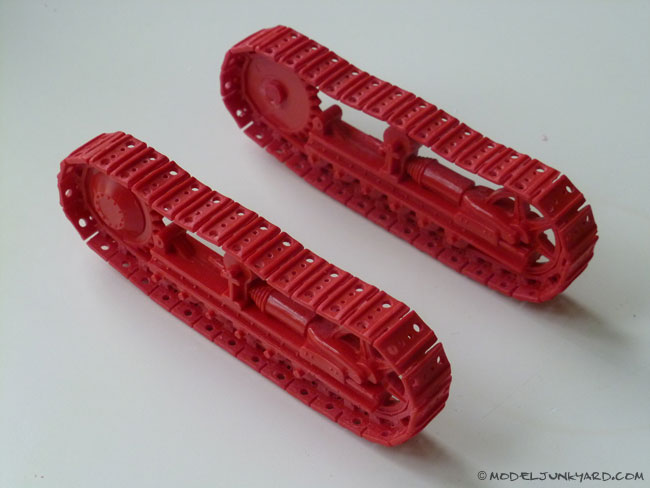
After drilling 396 holes (plus a few more for the front wheels), 132 cuts, lots of sanding and shaping the crawler tracks now look a little more realistic and I’m happy with the result. Here you have a video and a few pics and tips from the process:
VIDEO
PICS
The holes
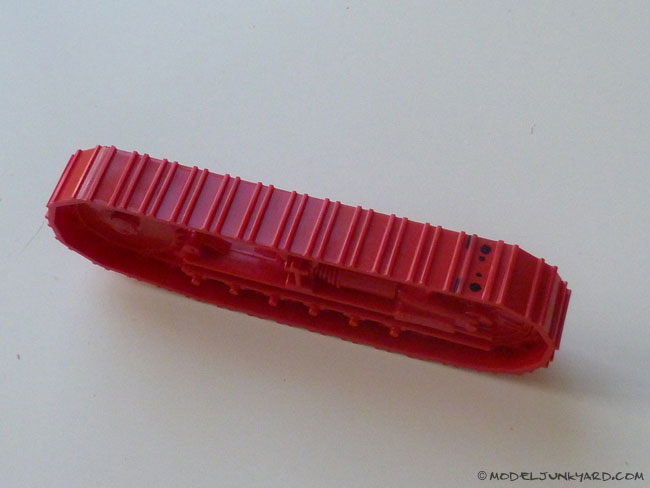
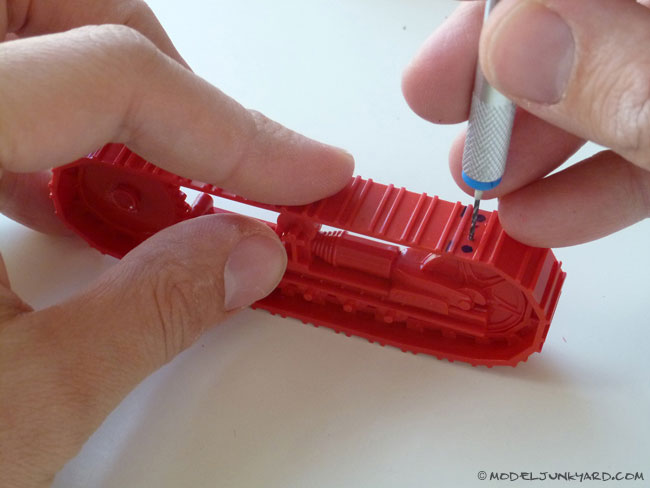
After googling for real pictures of the Hanomag K55 I learned how the crawler chain shoes are supposed to look like. Each of them have 4 holes on the top, 2 on the side and in order to separate them from each other I had to make 2 cuts at each shoe.
I first tried out one crawler shoe. I was satisfied with the result so I repeated the process on all of them.
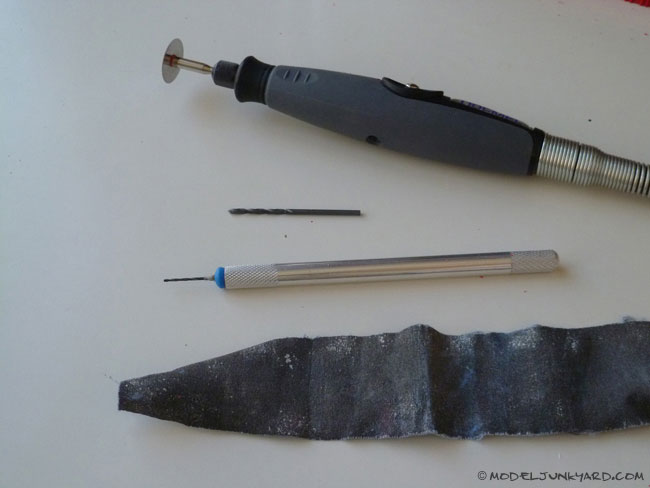
You’ll need a filing tool, sanding paper, a cutting disk (approx. 1 mm), and a few drill bits.
– 1 mm and 2 mm for the holes on the top
– 1,5 mm for the holes on the side.
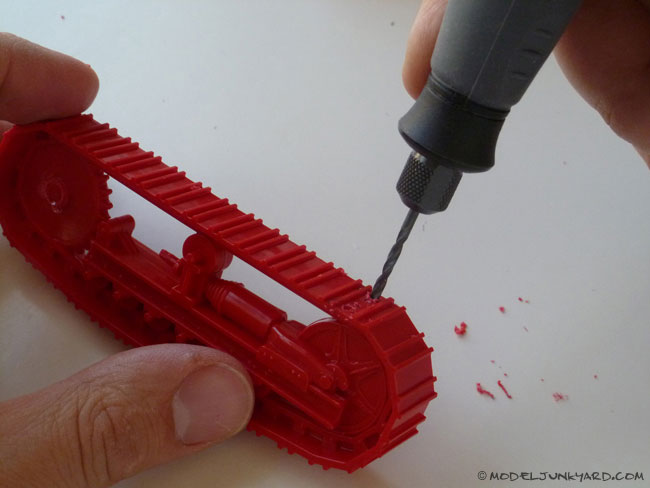
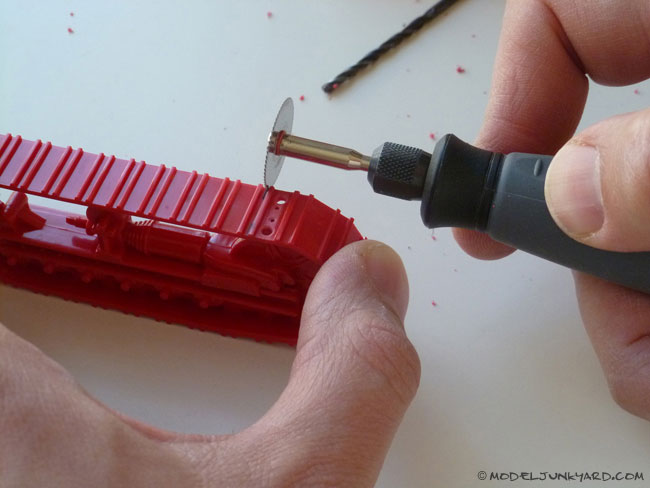
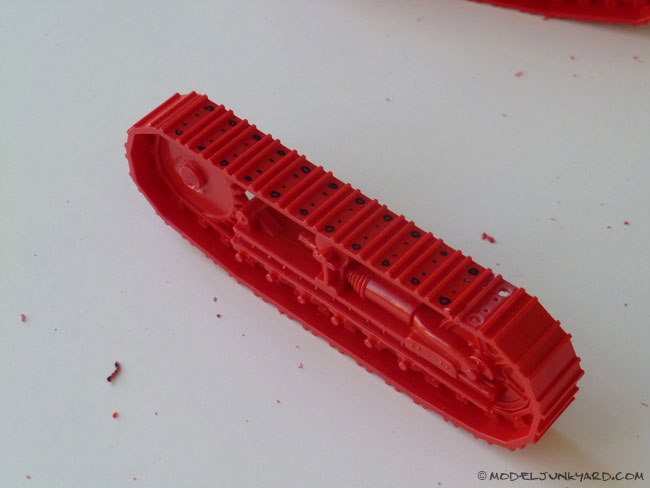
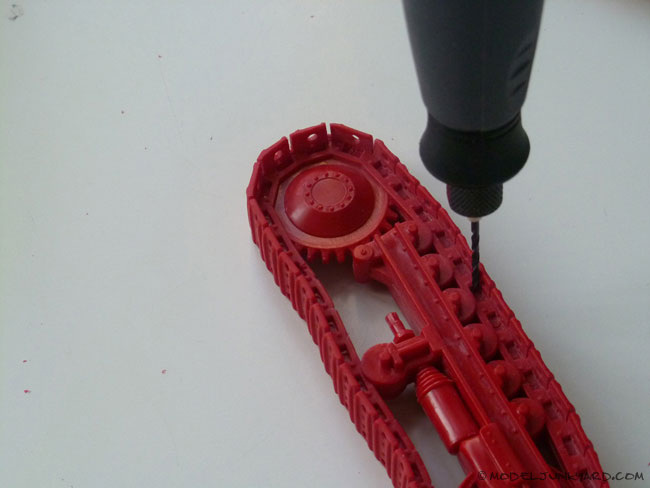
Shaping
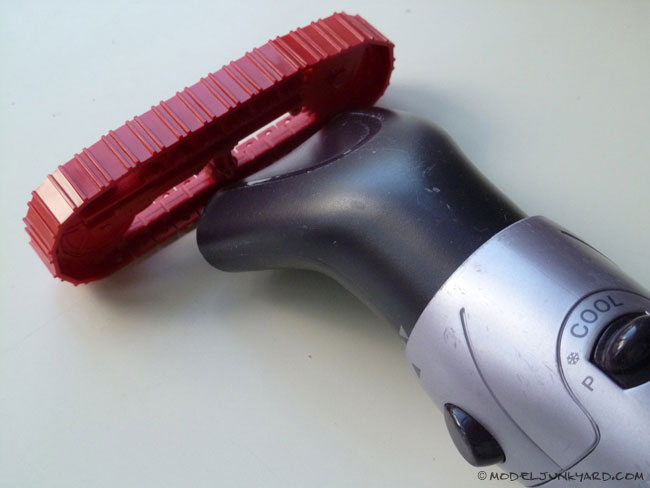
Old crawler chains are not so straight anymore and hang a little at the top. Using a hair dryer I heated up the plastic and shaped it in order to get that look. I love the result!
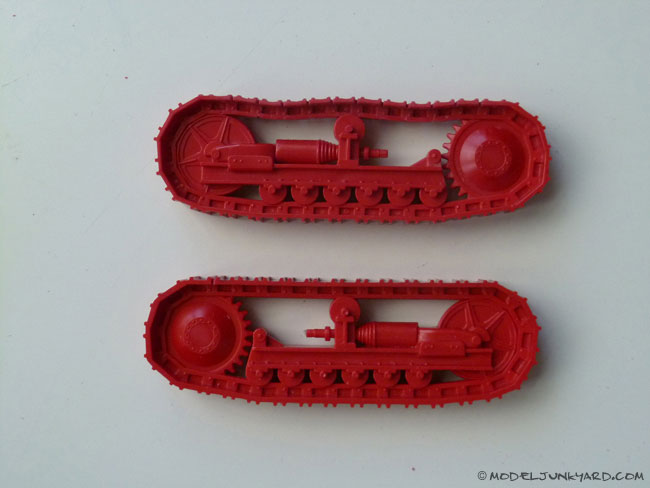
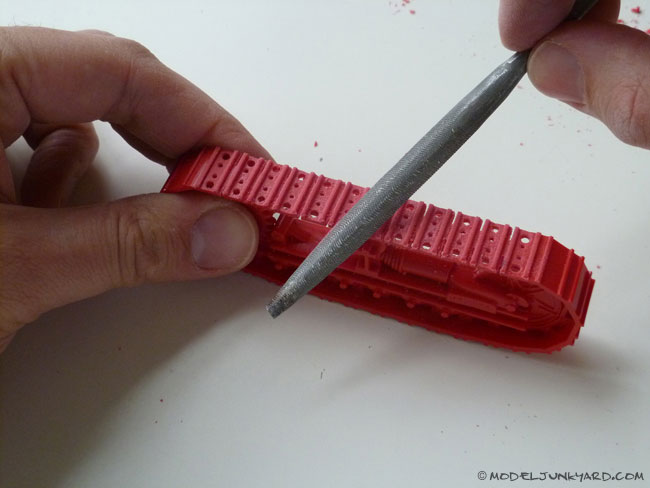
The chain’s edges are just too sharp for such an old tractor or even a new one. The shoes are made out of cast iron and they are never as sharp as originally casted on the model. This also needed to be fixed.
The front wheel
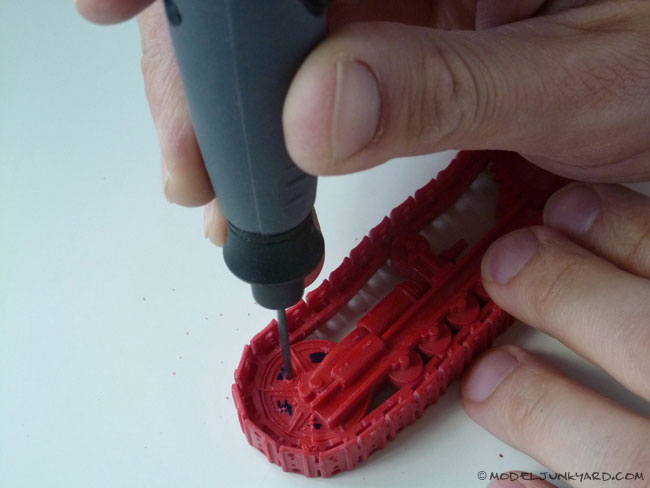
The front wheel was massive. I decided to open those holes as well. First I drilled a few holes and I slowly cut the space between the spokes open with the knife.
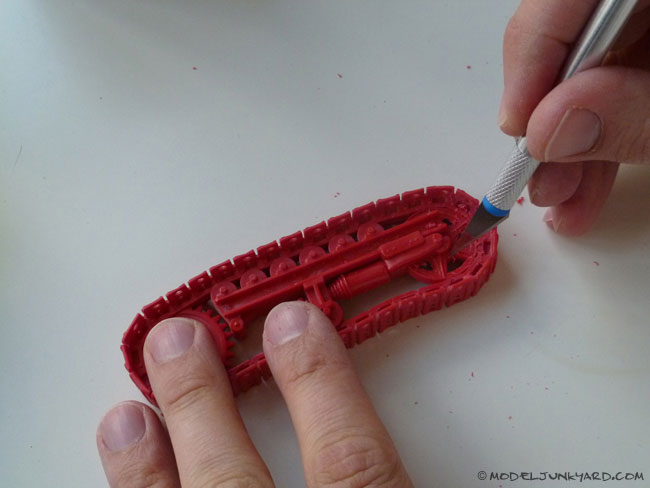
That’s much better! isn’t it?
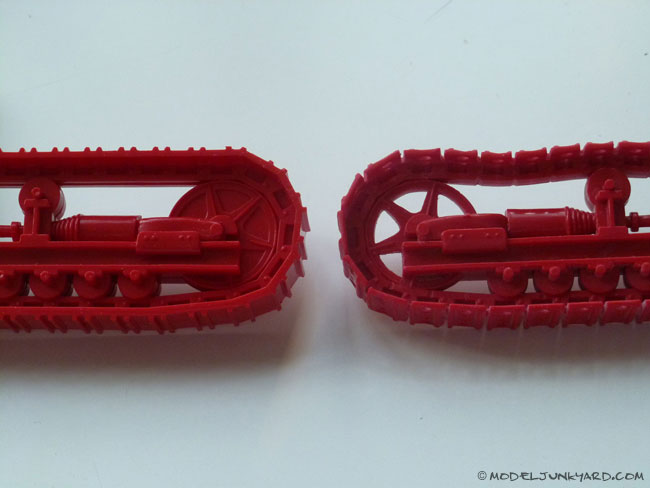
The finished crawler tracks
That’s the way, uh-huh, uh-huh, I like it, uh-huh, uh-huh! 😉
It looks more difficult to do than it really is. Within a few hours you should be done.
What do you think? Any questions or comments?

![Post image for Wiking’s Hanomag K55 crawler tractor 1/25 scale [#1 crawler tracks] [video]](http://blog.modeljunkyard.com/wp-content/uploads/2012/04/hanomag-k55-wiking-crawler-tractor-1-25-scale-00.jpg)


Impresionante como ganaron realismo esas orugas, la verdad que el modelo, mas allá de el realismo y la calidad de las partes, es muy raro de ver, y mas en esta escala.
Volviendo a las orugas, parece mentira que al verlas terminadas sean las mismas que al desarmar el kit, muy bien logrado el efecto, no me quiero imaginar la cantidad de óxido que le vas a poner encima
Seguí mostrando los avances por favor, no es frecuente ver este tipo de maquetas, y mas aún, algo personalizado , con su tan particular estilo.
Felicitaciones por como vas hasta ahora
Un saludo
Guillermo
Buenos Aires
Argentina
Hola Guillermo. Gracias por tus palabras! Me alegro mucho que te guste el proyecto. Estaré actualizando los avances de este proyecto paso a paso. Saludos!
Fantastic transformation. What a great low tech way to really fix up an otherwise poor model kit. I hope you go further and really dirty this K-55 using your assorted weathering techniques as that would be a real masterpiece.
Keep up the great work, I love your web site and plan to buy your books real soon. Thanks for all the inspiration guys!
Hi Joel, thanks for your feedback! Yes, lots of weathering to do here!
Awesome work man! I really like the realism of the tracks. My dad is a retired construction worker and being around machinery since a youngin, I must say those look real! Keep up the good work, and thanks for sharing such awesome projects!
Hi Hozer, I’m glad you like this project. More coming soon!
WOW, Sooo very cool on them tracks. Your modeling mind is stupendous ! Then I learn you are a painter as well as I kept reading your article. I think you have a great mind for Modeling & Art. I think your ideas & modeling tips are great & I thank you for sharing them with your plastic model friends. – Gitter-Done- ! Don
Great, thanx