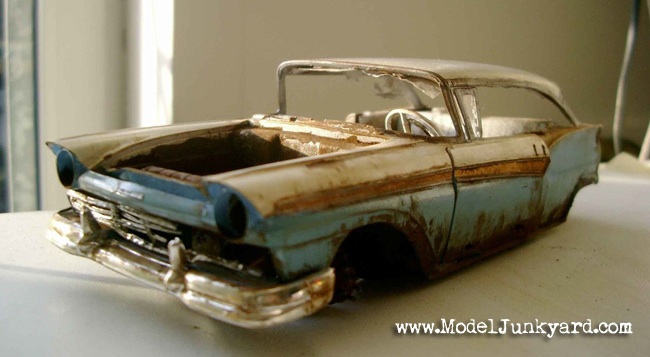
Those who have been following us for a while now may know this build. In this post, I want to give you some new insights of this junk model car – so if I already told you about it, it is still worth it to read this post!

The scale model was inspired by a real car. My brother cut off the rear end one day and made a sofa out of it. The rest of the car remained on a yard. This was one of my first two junk model cars, so I was still looking for techniques back then. One of the things I knew, was to apply rust with the rust powder (you may know my guide on how to make rust by yourself). I still use that technique, but now I combine it with two other rust weathering techniques (two component rust and flat brown).
One of the special features of this build are the brake drums on the front. I scratch built them, which it took me some time. I used a very hard wire to make the bolts, which was a big mistake as it was awfully hard to cut in the size I needed. Nowadays I would use either a very thin plastic stick or very soft wire. Sometimes it’s just better to take a second thought on the materials you want to use before staring – I learned that as well 

Speaking of special materials, I also wanted to make something special with the grille. The one that comes with the kit is pretty thick and you can’t see through it. I first thought I could sand the back of the grille. But I realized pretty fast that it would have been kind of tricky. So I made a mould with liquid latex (you basically apply the latex with a brush over the original part, layer by layer). The result was pretty good. I broke part of the grille, to make it look more “junky”. Although the final product looked great, I learned that two component silicon is much better than liquid latex while making moulds. The liquid latex I used dries in contact with the air. This means that the material shrinks a bit while drying. This was not a big deal with the grille, but it can make a bad result while casting parts. I tried to cast some rims with latex and the mould shrinked too much, that the final product was just too small to fill the tire. In contrast, two-component silicon dries only when mixing the two components and it doesn’t loose volume while drying (or at least not as much that you would notice).

To fill the mould, I used resin – which is also a two component material and dries due to the chemical reaction triggered after applying the second component. The mould was a once piece mould, so it was open on the top. I just had to pay attention not to put too much resin, so you can see through the grille (that was the whole point, right?). I used some bare metal foil to finish it.
This last pic shows an improvised junkyard diorama set up with our barn project.
I hope you liked it!


I am a big fan of your work and am blown away by how simple your technics are and the results they produce!!!! AMAZING. I have been collecting and building for some years now and am curious how you get the scaling down so good? also I am wondering if you will be coming out with an e book this.
Hey Philip,
thanks for the comment!
We are currently working on several projects, among others a more advanced version of Underhaulin. In the first book, we have shown the basics to build a junk model car out of the box – in the next book, we want to go a step forward and show more tips in scratch building and enhancing your build far beyond the box, and of course much deeper than this post.
One book we have written on scratch building is “Gas Pump” (http://blog.modeljunkyard.com/2011/03/24/gas-pump-scratch-build-scale-model-tokheim-39/) . The idea behind this book is not just to build a gas pump from scratch – but to get into advanced scratch building while going through the steps of building the gas pump. In this book, Seb described some very cool ideas on how to apply different materials while scratch building.
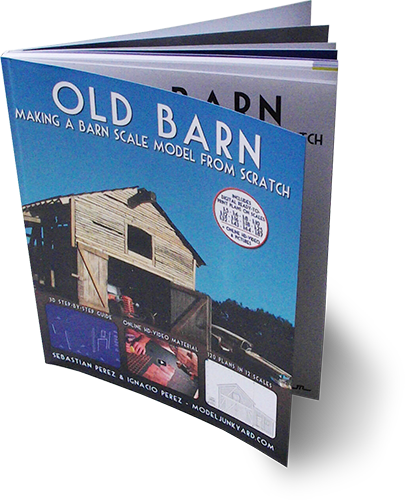
We are kind of packed with projects right now – as we are also working on the Old Barn Instructions (http://blog.modeljunkyard.com/2011/05/22/124-barn-instructions-progress/). We are trying to make this one very easy to follow – so most of you can proudly look on an awesome scale barn!
Anyway, in the meantime, we try to give you guys some useful stuff to read (have you checked the Road Signs yet?). Both my brother Seb and I appreciate your support! Thanks Philip (and all the rest) for following us!
Iggy
How do you bust the windshield?
With some patience and a hammer 😉
awesome! want that in my livingroom!
my name is floyd and do eccepte model car photos really love this site i like making cool junkers to but woyld a photo of the 57 ford of the back and naother of what did to fill the holes in the door frame
thanks